
Hello! I hope you are having a beautiful Monday. We are trying to soak up as much sun as we can here in the Black Hills before the snow starts to fly...again. We had freezing temperatures and snow a week ago and then it shot back up to 90 again!
Because I know winter is coming and I tend to go into hibernation mode (like the Mama Bear I am) I know that it is crucial for me to get my act together. My ducks in a row! I looked at buying a planner but $15 for one just seem ridiculous! So instead I spent $6 and put some elbow grease into it as well as some finds from the craft room and TA-DA, PLANNER!
Supplies
Notebook
ruler
pen
embellishments (optional)
stickers (optional)
Patience (not optional)
Time (one or two eves in front of the tv)
Washi Tape (optional)
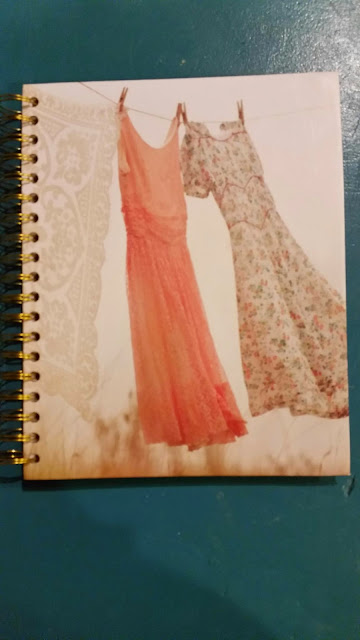
I found this great notebook at Target for $5.99. Yes, I could have just gotten a cheap $0.92 one, but I wanted it to be something fun that I would like to look at everyday.
Then I stole a ruler from my son (shh I don't think he will get it back). I figured 4 days on a page would give me plenty of room as well as being able to look ahead a few days.

It did take me a couple nights to line out my days and add the dates. I wanted to include the days of the week because I tend to forget what day it is! There are so many ways that you can do this. If a grid calendar works better for you-great! If you only need a few lines to jot something down, even better, and I wish I were you! Or are you a lister? You make your list out for everyday so you can get them checked off and done-I envy you! If you are a lister you may consider using a half page or a page for each day.

I raided the SMASH pile I have saved up and found these two pockets. Both had the calendar on the front, but I like the back of the blue one better! So I glued it into the front cover of the notebook with Mod Podge for Paper. I think I paid around $5 for 4 of them, knowing me I probably used a coupon too, so $3 ish.

When I was raiding the craft room I found this note pad and it reminded me of the front of the notebook and a great place for my lists-what I do of them any way! I will just keep it loosely in the notebook.

I then glued the other pocket to the back cover of the notebook.

Of course I had plenty of things to add-the teenager going to his girlfriends, anniversary, bills and of course I will keep track of both of my blogs!

If you like throw in some stickers or embellish it to make it personal to you! Most of all make it fun so that you want to use it!

No comments:
Post a Comment